Showing posts with label easybaking. Show all posts

Wednesday, 20 May 2015

Lemon Drizzle fo' Shizzle


The last slice of Tangy Lemon Cake

I’ve gone baking mad the last two weeks, It might be because I’m finally free from college and I can actually do things I want without the guilt... although I did bake when I still had one exam to go, so maybe it was exam escape!! Ha Ha

So usually I like to try new things and experiment, but the last two cakes I’ve baked were just easy, quick and tasty!! 
The basic cakes... the first I made and with a little video was a lemon drizzle cake for my mam's birthday! 
Easy and delish and one of my favourites to do.

The recipes was taken from one of my favourite and reliable sites, Odlums.ie

The Ingredients I used for a 8/9inch tin are:
  • Ø  225g/8oz Odlums Self Raising Flour
  • Ø  225g/8oz Butter (at room temperature)
  • Ø  225g/8oz Caster Sugar
  • Ø  4 Eggs (beaten)
  • Ø  Finely grated Rind of 1 Lemon


Drizzle for Topping
  • Ø  Juice of 1 Lemon
  • Ø  75g/3oz Caster Sugar


Oven at 180C you can watch my little video for the method J


But just in case you want to see it written down

Preheat oven to 180°C/350°F/Gas 4.
Grease and base line a 8″/20cms deep cake tin or spring form tin. (I used a 9inch silicone tin, and used some oil to coat the bottom to be safe!)
Beat together the butter and sugar until pale and creamy, then gradually add the eggs, slowly mixing through.
Add the flour and the lemon rind. Mix well to combine. – I always use a spatula at this point!!
Pour the lemony goodness into the tin and level the top
Bake for 45 – 50 minutes approx. until well risen and golden brown. Cake is baked if top is gently pressed and it springs back!

For the Drizzle-
Mix together the lemon juice and the sugar.
Prick top of warm cake with skewer or uncooked spaghetti (smaller holes), then, with a table spoon pour over the drizzle – the juice will sink into cake and the sugar will form a lovely crisp topping. (yum)
Before

After

Glaze Ingredients


The result of the cake was it was savaged by my family within 24hours! It was moist and tangy and so so lemony... the syrup really does add to the spongey-ness of the cake

Marks outta ten... 8/10! I dropped one mark because it’s not chocolate, and another because there are too many cakes out there!!

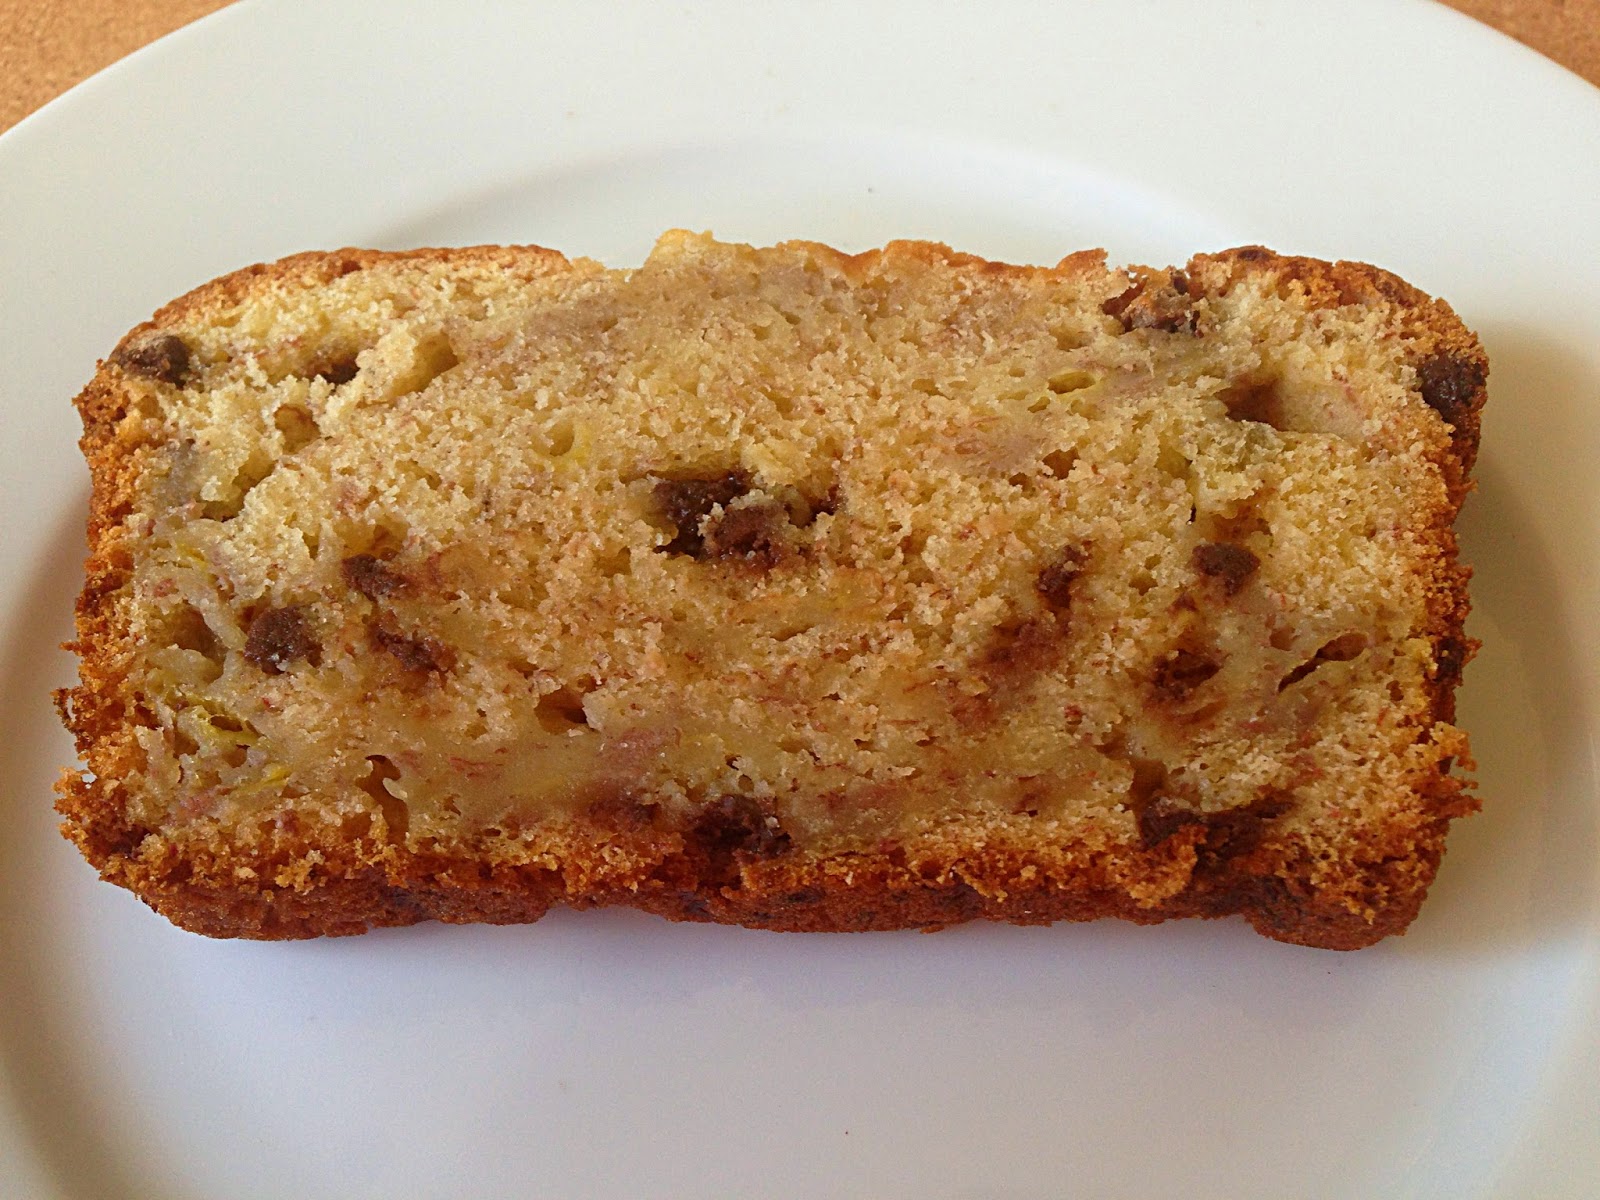
If you enjoyed this recipe and the pictures maybe you might like to check out my post when I made a fab banana bread with chocolate chips! :) click here 


Friday, 17 April 2015

Jennuinely Interested in...BANANA BREAD


I love to bake, it’s a passion, nothing too complicated, tasty cakes usually, I tend not to bake so much as there aren’t many people to eat it around the house, need to be more brave and bring some into college, I’ll usually bake for family functions around Christmas!

So in the kitchen we have a beautiful fruit bowl… untouched by humans, and inside that big bowl are four very sad bananas, and last night I said... 

"enough is enough!! those bananas will live!”


And so, I decided to bake banana bread! I chose Donal Skehan’s “Aunties Ann’s Banana Bread”  recipe and let me tell you it is MAGNIFIQUE!!!! 
-I did add a sneaky extra ingredient of chocolate chips (why not?)


So here is his recipe, I made one large loaf, but I am tempted at another point to make a banana muffins with this recipe!
110g butter
190g caster sugar
2 large eggs
240g self-raising flour
1 teaspoon baking soda
1/2 teaspoon of vanilla extract
3 large bananas (I used 3 1/3)
AND ONE BIG BAG OF CHOCOLATE CHIPS!  MMMMMMM

Utensils
Weighing Scales/Measuring Spoons
Oven @ 180C
Mixing bowl
Sifter
Electric Mixer/ a wooden spoon and strength
Spatula
Loaf tin/ mini loaf or muffin tins
A smile J

The Method is so easy, which is always A+ in my book!

Cream the butter and sugar, add one egg and sift some flour, beat then add the second egg and the remainder of the flour, combine. 
Then the best bit, squish the bananas until they are like wallpaper paste and add them with the vanilla extract and the choc-chips and gently fold them all together until the smell of the batter is so irresistible you have to have a taste then pour it into a greased tin (really grease it up!!).


I added my cute decoration and placed it in the oven on the bottom shelf at 180C for 65 minutes -  in the recipe it did say 50 minutes, but I put mine on the bottom shelf, and also I think adding the fresh banana on top hinders its baking, but worth it for the cuteness, I also covered the cake after 40 minutes with tin foil to prevent any more browning.

The smell of banana bread baking through the house was just irresistible BUT the loaf really does need to cool as it’s so moist I don’t think it would hold together if cut while hot! leave the cake to cool for 6/7 minutes then get it out of the tin onto a wire rack to cool!

This morning I sliced a chunk for myself and WOW-WEE-WOWSA!! :D


It’s so moist and the banana and chocolate chips are a match made in heaven, it holds together perfectly but is squidgy and moreish, and I’d say if I drank tea it would go perfectly. 
 All round a delight and I would definitely give it two thumbs up!


Please enjoy this pictures while I enjoy another slice J  

If you enjoyed this post please follow me, or give it a little +1 = thanks a billion :) 
AND come follow me on Instagram, click on the icon on the right there, or look up jennuinelyinterested ! 

Here is Donal's link to his site because its his recipe after all!!